


I LOVE fall!!! This is my first fall in my home and I can not wait to decorate for Fall, but I have also been challenging myself to not spend like crazy! So when I saw a rustic wall hang at the thrift store for $7 I knew immediately I wanted to turn it into a fall sign. It was sooo easy. Here is what you need!

– Multi Surface Satin Black Paint
– Martha Stewart Adhesive Laser-Cut Stencils, Didot
– Board of Choice!
- Once you have the stencils needed for your first word use the stencils to line up your text.
- Use the small brush and dab the paint into the stencils to prevent bleeding.
- Be careful to let the paint dry as you lay the next stencil (there were times I didn’t wait long enough. Opps!
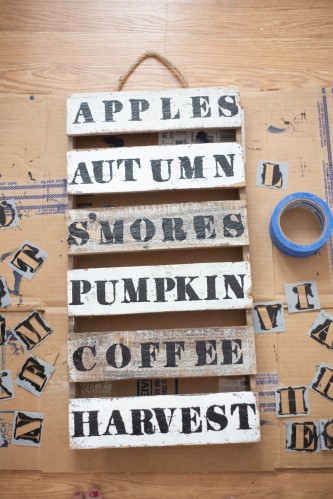
And that is it!! If you are interested in seeing the video tutorial watch below!
With Grace,
Carissa
